MGA Enhances Scanning Capabilities
Aug 29, 2023
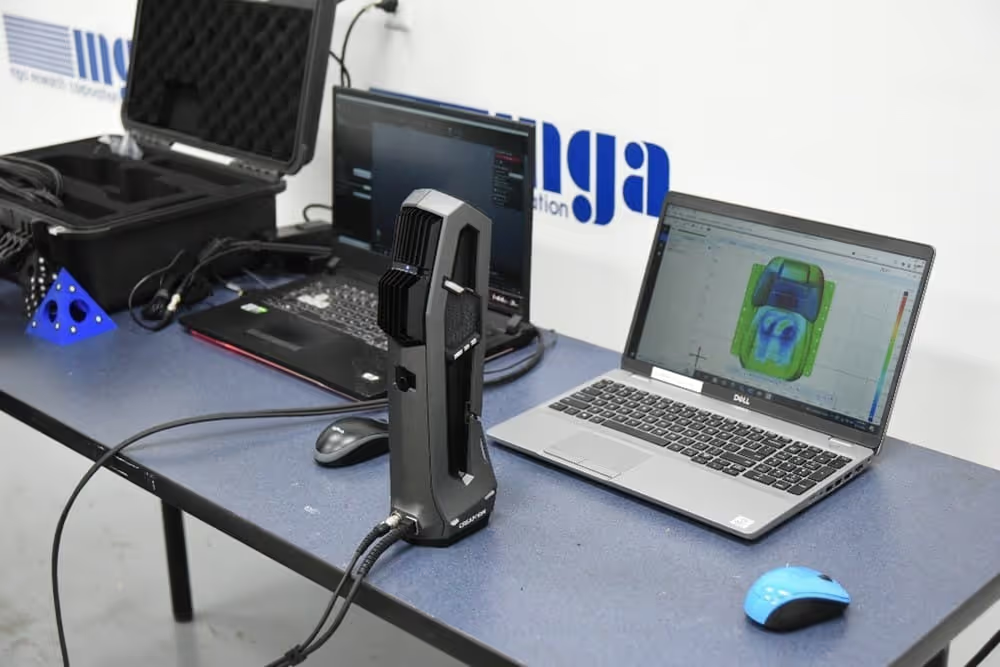
In the pursuit of precision and innovation within the automotive industry, scanning has emerged as a transformative technology. Scanning refers to the process of collecting three-dimensional images using an optical measuring device. A scanner operates by projecting light onto a test object, while embedded cameras analyze the object’s surface to determine its composition. Over the last decade, MGA has acquired a diverse array of scanners that leverage various scanning technologies. All nine of MGA’s locations possess scanning capabilities, and our portable scanners allow MGA’s 3D analysis experts to easily travel to customers worldwide.
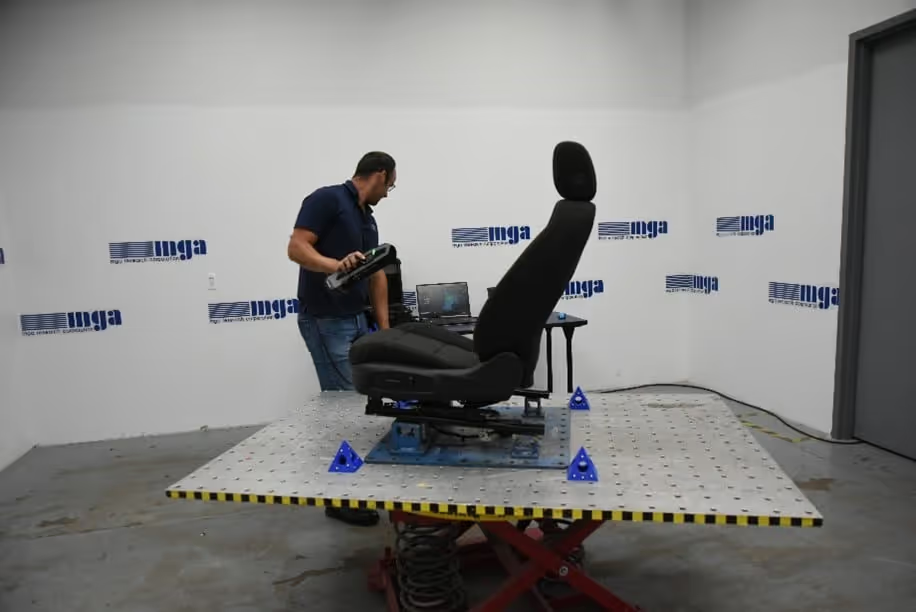
During the period from 2016 to 2019, MGA acquired four blue-light, stand-based scanners. The integration of these devices immediately increased the scope of work that MGA could perform, enabling the comprehensive analysis of a diverse range of test samples. The scanners' adaptive lens sizing feature, tailored to the dimensions of the sample, allows MGA personnel to perform scans on objects as small as a quarter and as large as a full vehicle. The available technology progressed further over the next several years, and in 2020 MGA made the decision to procure an additional seven scanners from Creaform. The handheld structure of these scanners provided our team with new levels of portability and flexibility. In addition, these scanners are adept at capturing complex surfaces and even have the ability to generate a 3D model in real-time while scanning.

The analysis and processing of 3D scans constitutes a pivotal phase in the journey from raw data to actionable insights. This operation entails exporting the 3D images to dedicated processing software, and then analyzing the data based on diverse criteria identified by the customer. During processing, operators create geometric elements as reference points to aid precise analysis. These elements can be placed on various hard points, including holes, bolt heads, and planes. Additionally, scans can be split into sections to assess surface alignment and integrity. MGA’s 3D analysis experts are able to easily compare new data to existing standards, pinpointing deviations using colormap visuals and labels to ensure conformity. In addition, scan data can be used to create STL files so that replicas of scanned objects can be 3D printed. MGA commonly uses this method to fabricate life cycle cylinder blocks and test fixture components. Another one of the numerous advantages of 3D scanning technology is its ability to produce mesh files, which can then be overlaid onto the original CAD files. This advantage allows our customers to identify any nonconformance with fit and finish, which could be indicative of production design or manufacturing problems.
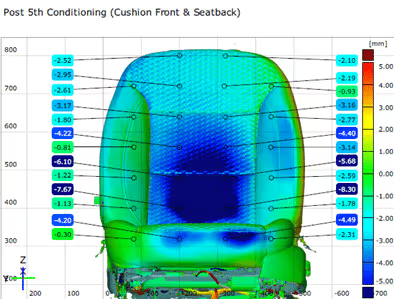
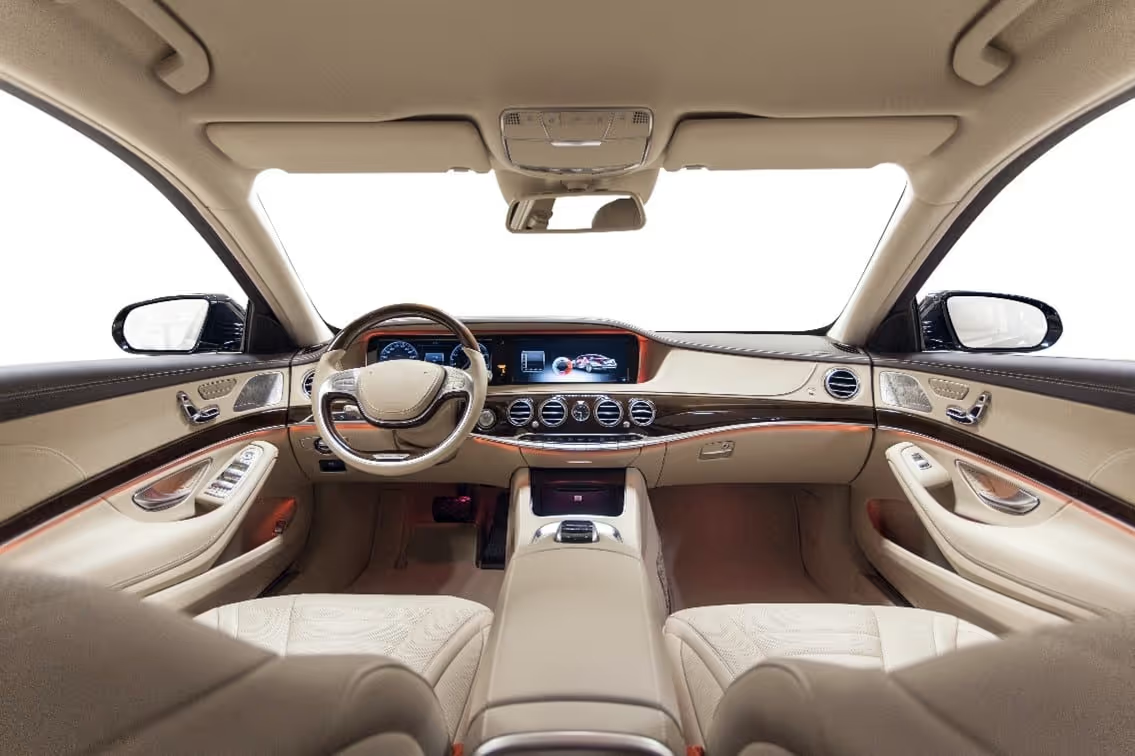
Scanners have opened up a new realm of possibilities for quality assessments at MGA. They have become instrumental in examining a wide array of parts, transforming the way these evaluations are conducted. The scope of scanned components is extensive and includes seat components such as tracks, structure, foam, and headrests. Applications extend to complete seat assemblies, instrument panels, and headliners, as well as interior and exterior trim components, vehicle structures, and injection molded parts. The advantages of using scanners for quality checks are manifold. By eliminating the inherent limitations of manual measurement methods, scanners have substantially reduced the likelihood of error. This has translated into a higher degree of precision in identifying even the smallest deviations from desired specifications. These devices meticulously capture intricate details and dimensions of components, allowing MGA to provide customers with a comprehensive analysis of their product’s conformity to established standards. This advanced level of insight helps our clients swiftly identify and rectify potential discrepancies, improving overall product quality.
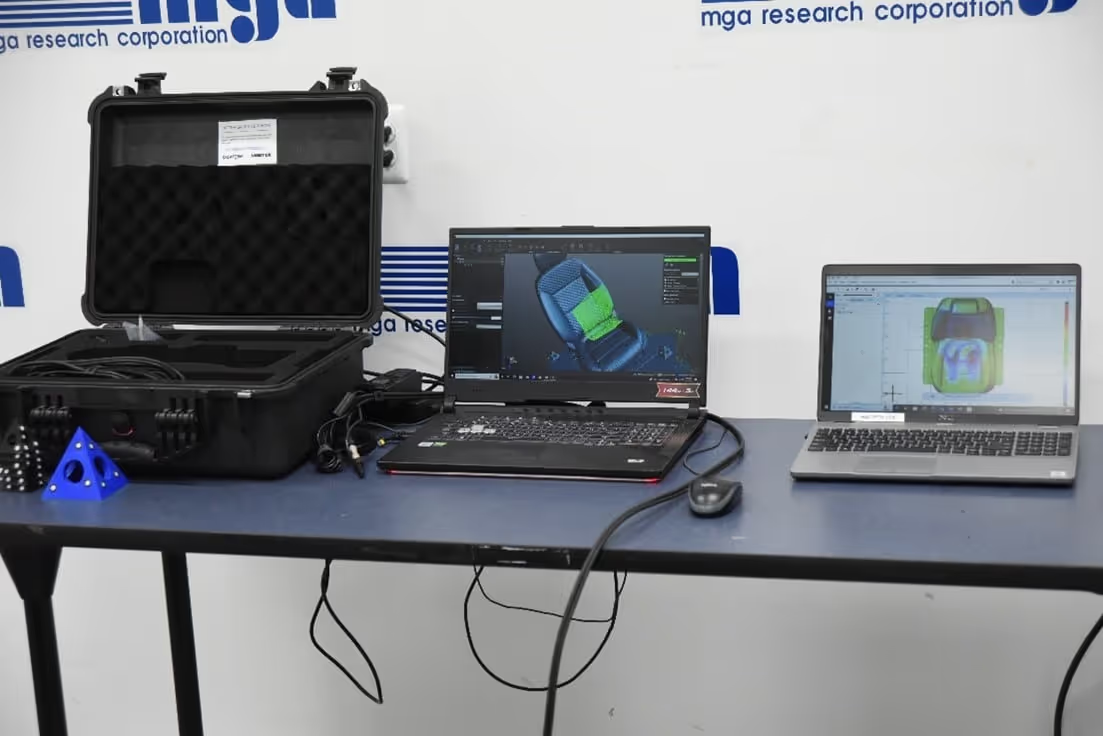
The utilization of Creaform scan equipment with short scan times has been a game-changer for MGA, as the ability to rapidly capture precise 3D data significantly accelerates the scanning and analysis process. Preliminary data can now typically be delivered within 24 hours following scan completion. All necessary scanning equipment is hand-carried, enabling our experts to deploy the technology wherever necessary in a time-efficient manner. MGA’s scanning equipment undergoes annual calibration conforming to ISO-17025, ensuring precision and reliability.
Here at MGA, we have proudly conducted 3D analysis using our scanning technology for over 7 years. We welcome customers to step into the future of precision with MGA and let us propel your quality control to new heights. For more information regarding our 3D scanning services, please contact scott.arsen@mgaresearch.com.
Ready to Get Started?
Let's discuss your testing needs and how MGA can help. Our team is ready to provide the expertise and solutions you're looking for.
